I was looking at the information on the traffic to my blog and was very suprised when I found out what my most popular blog post was. It wasn't about books, or products I like, or even recipes! Those are the things that I blog about the most so I was shocked. The most popular blog post was "My Room" a post I wrote back in February. This post wasn't just the most viewed, it had won by a
landslide. This convinced me that the public is really interested in room organization right now. So... here is another room organization idea!
I love making crafts, so one of the first things I did when I started organizing my room was organize my craft supplies. Here's what I did:
Supplies You'll Need:
- A craft bin. I recommend getting one with wheels, like the one in the picture below. That way, you can easily move it around.
 |
I found this image at:
http://www.walmart.com/ip/Sterilite-3-Drawer-Medium-Cart-Arctic-White-Set-of-2/3385116
- Labels. You can buy a pack of labels that you have to write on yourself, or you can use a label maker if you have one.
- A permanent marker. (If you're going to write on the labels yourself instead of printing them.)
- 1-inch binders. (Optional.) I used 2 one-inch binders to store my drawings and stories in.
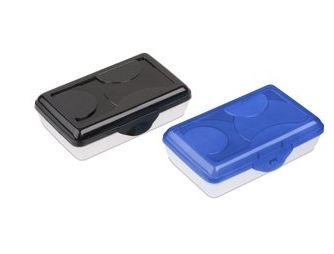
- Crayon boxes. I used crayon boxes to separate my crayons, colored pencils, and markers. (Like the ones to the left; I found this image at:
http://www.walmart.com/ip/Sterilite-Pencil-Box/17355912
- Page protectors. (Optional.) I used page protectors to protect my drawings before putting them into the binder.
- First, you need to decide what you're going to put in each drawer. I brought a craft bin with three drawers, but you can buy one that's any size you like. I decided to put construction paper, graph paper, sketch paper, and any other type of paper that I had in drawer 1. I put my drawings and stories in drawer 2. Drawer 3 is the biggest drawer, so I filled it with colored pencils, crayons, and markers.
- Before putting my drawings and stories into drawer 2, I separated them into two different binders. I put the drawings into page protectors before putting them into the binder. That way, I wouldn't have to punch holes into them.
- I separated my markers, crayons, and colored pencils into three different crayon boxes and labeled each box before putting them into drawer 3. That way, they all have a specific box to go in when you're done using them.
- Label the drawers! I labeled drawer 1 "Construction Paper & More", drawer 2 "Drawings & Stories", and drawer 3 "Crayons, Colored Pencils, & Markers". Stick the labels on and you're done!
|

No comments:
Post a Comment